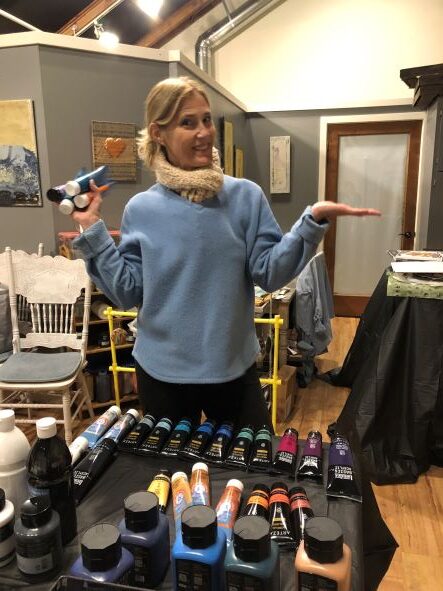
Over the past three months I’ve been curating supplies for the artists teaching in my studio, one of my favorite activities! For each of the workshops and classes we do in the Refind Creations Studio, all the supplies you would need to complete the project are provided and it brings me great joy to find each item. I look for sales, sign up to be a wholesaler, or get bulk discounts based on the list of supplies the artists give me.
The acrylic pour workshop has been the most prolific for supplies needed and so much fun! There are a zillion videos on YouTube but doing it in community is always so much fun.
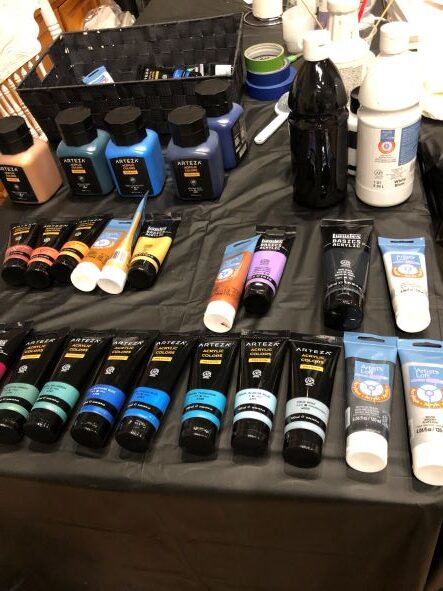
Paint:
Collecting acrylic paints has been very interesting. There is so much variety in pigments, colors, and brands I’ve had to learn a lot of terminology. Transparent. Translucent. Opaque. Heavy Body. Light Body.
Heavy Body Paint is like butter. Heavy body refers to the viscosity, or thickness, of the paint. You can do so many things with heavy body paints to manipulate for various applications.
Transparent – Almost all the light that encounters a transparent object will pass directly through that object.
Translucent – Think of frosted glass where some of the light that encounters a translucent object will pass directly through that object. You see fuzzy, unclear images through translucent objects.
Opaque – Anything you can’t see through at all would be considered an example of an opaque object, where light is blocked.
Pigments:
I love all the names of the paints we use! So many, many colors to choose from! Metallics to mattes to everything in between.
Titanium White – it is very heavy and will go through the other paints and allow the other paints to flow through it.
Prussian Blue – Most people love blue, perhaps because it’s used in nature so prolifically. Prussian Blue is a dark blue pigment produced by oxidation of ferrous ferrocyanide salts.
Metallic Acrylic Paints include such delicious colors like Pearl Electric Blue, Copper, Bronze, Silver and even Purple- Doesn’t that just sound magical? I love to add a touch of shimmer to almost everything I create.
Quinacridone Magenta is a rich deep violet-red color and is based on the Quinacridone pigment. The name Magenta comes from a lake color named in 1859 after the battle in Magenta, Italy. The organic compound known as Quinacridrone is a red powder that is used as a pigment.
Phthalo is short for Phthalocyanine, which is a synthetic pigment of greenish-blue. Colors like Phthalo Blue and Phthalo Green are popular amongst artists for their intensity and tinting strength.
Additives:
Floetrol, matte medium, polymers, and even glue are a large part of acrylic pour. Changing the viscosity, transparency, and conditions of the acrylic paint is all part of the process.
Floetrol has been used for decades in the construction business to condition paint. What is important in acrylic flow is that each paint is the same consistency. You can do this with a “consistency” page or just by watching how it drizzles off your stick. Depending on the pigment or the brand, the amount of additive will vary.
Dimethicone, silicone, and even coconut serums are all used to create “cells”, that beautiful lacy effect that makes everyone want to try acrylic pouring projects. Color, inside color, inside color with sharp edges is how artist, Janille Dutton, describes creating cells.
Tools:
I think I bought more little cups for this project than I ever thought possible. As I mentioned in a prior post, Dollar Tree has got to be the biggest art supplier for mixed media artists. Plastic cups, paper cups with no wax, tiny cups, medium cups, large cups.
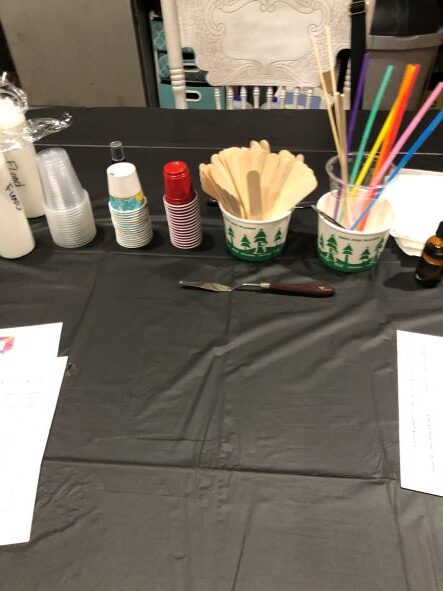
Stir Sticks – the fatter tongue depressors work best for decreasing the chance of bubbles. Lots of stir sticks!
Palette Knives – clean off between colors. These can be used as stir sticks as well as a way to spread your paint.
Kabob Sticks or tweezers- Perfect for picking out “artifacts” … if your floetrol blobs, dust or even a little piece of hair gets into your painting then kabob sticks and tweezers are perfect for helping remove those. The kabob sticks can also be used to change the look of your pour by dragging the tip through.
Water – Spray the back of your canvas to tighten up the fibers in your canvas
Canvases – get gessoed canvases in any size you prefer. Add another layer of gesso if you like, or even three!
Formulas to calculate how much paint is needed for each size are available online. Here is one you might use CALCULATOR
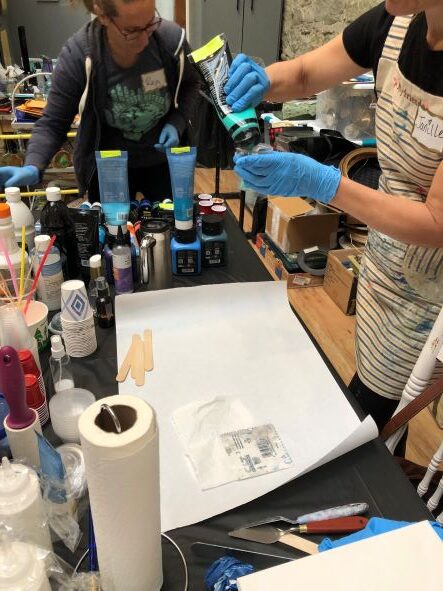
Mixing it up!
You are going to get bubbles. Mix slowly. Add a little of the additive at a time, mix and mix, then test the consistency. Floetrol can create a webby, lace effect that are kind of like cells. When you check your consistency do it about an inch above your cup. If you find it is not getting thin enough you can always spritz a bit of distilled water to get it to thin out slightly. Scrape the sides to make sure no pure paint is left behind.
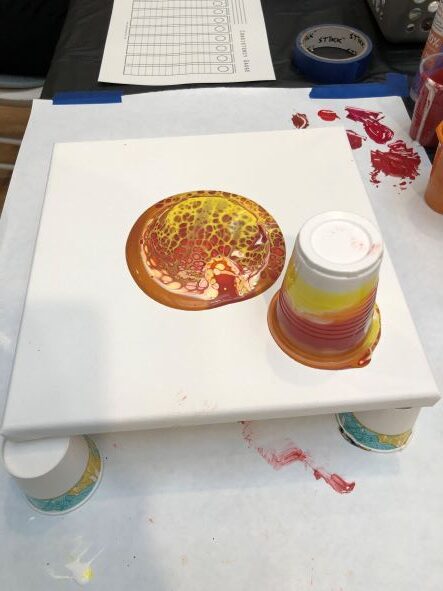
Let it Pour
If you want to get the “cells” to activate, you’ll add your silicone oil now. One drop. No more. Put in one of your cups or all of them. Whatever you want to do! Layering with the heavy titanium white on the bottom and adding layer after layer of color into a plastic cup, you then tip your cup onto your canvas OR put your canvas on top of the cup and tip it over. LET IT POUR – let the amazing part happen. Tip the canvas back and forth to spread the joy. Let it flow over the edges and add more along the edges to make the mix move if it gets “stuck”. Let the colors swirl and create the amazing masterpiece!